Short Description
This protocol helps you to find the right scale sensitivity when using the spot detector plugin, to get the most adapted segmentation.
Institution: INSERM
Website: http://lydia.danglot.free.fr
Documentation
Here is the whole protocol (you can download it at the bottom of this web page) :
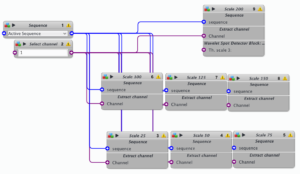
The blocks 3 to 9 have been collapsed for clarity.
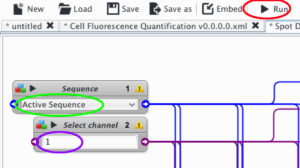
First, you have to choose the image (in block 1, choose active sequence or select the desired sequence by clicking – below in green). Indicate the channel of interest (block2 – in purple), and press Run (in red).
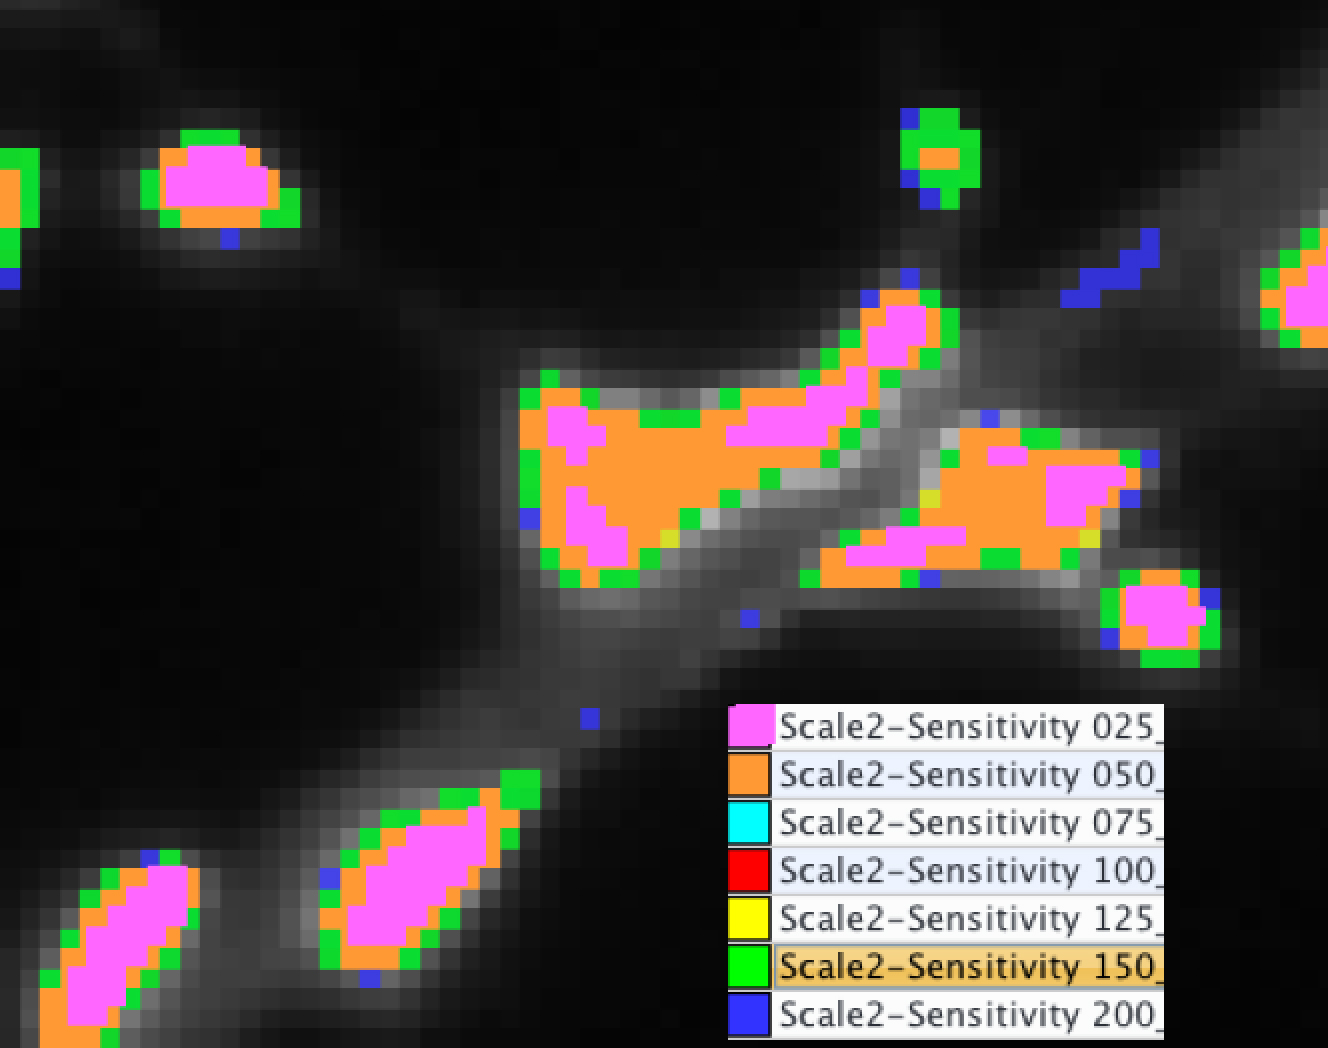
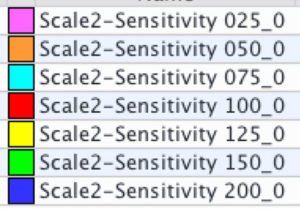
It will create automatically over your image, overlaid ROI corresponding to the spot detector results that you would have with scale 2 and different sensitivities. The different ROI are color coded, and their display (appearance/disapperance) can be controlled in layer tab.
You will have :
- Sensivity 25 in pink
- Sensivity 50 in orange
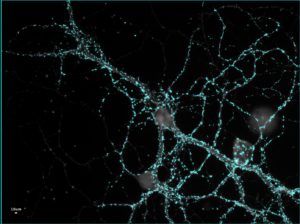
- Sensivity 75 in cyan
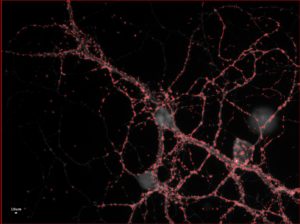
- Sensivity 100 in red
- Sensivity 125 in yellow
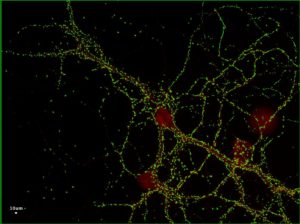
- Sensivity 150 in green
- Sensivity 200 in blue
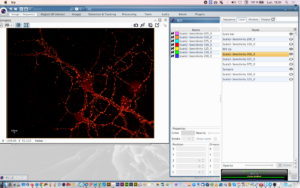
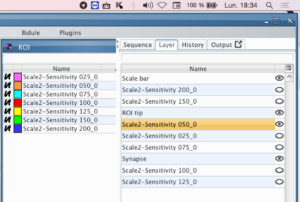
Select the desired sensitivity to display in layer panel (here the orange line for sensitivity 50) by clicking on the little EYE icon on the right:
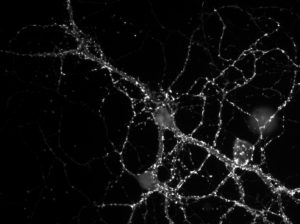
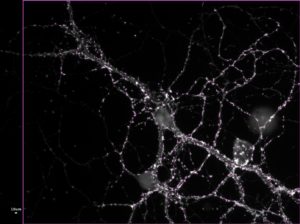
Original Picture with white spots of interest:
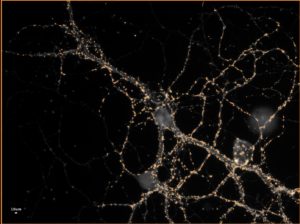
Here is the results for sensitivity 50 in orange:
Example of segmentation results with sensitivity 25 in pink:
Example of segmentation results with sensitivity 75 in cyan:
Example of segmentation results with sensitivity 100 in red:
Example of segmentation results with sensitivity 150 in green:
By activating all the layers, and zooming on the spots, you will be able to delineate the contour of your spot and to identify which sensitivity is the most convenient for your application :