This article aims to guide you on how to contribute to Icy development, whether you are part of the Icy developers team or an external contributor. Although this article focus on contribution for Icy Kernel project as an example but it also fully applies to contribution to an existing plugin from our repository.
If you want to create a new plugin from scratch that extend further the power of Icy take instead a look at this post on how to create new plugins in Icy, and this post on how to publish an Icy plugin on the Icy website. No need to further read this blog post 😉
Word of caution if you plan to contribute to the kernel: Icy Kernel project provides all the core features (Image importers, ROI tools, UI, basic visualization, etc.) and requires particular attention when being modified. It should always provide API backward compatibility and remains stable and fast.
In this article, you’ll see how to
- request access to the project
- download the source code of the icy-kernel project from GitLab repository of the BIA unit
- open the Maven project
- create a new branch
- launch Icy in debug mode
- update your local project to get the latest kernel features from the repository
- publish your changes
We will also discuss the limitations of working with this development version.
Once again, this article focus on contribution for Icy Kernel project as an example but it also fully applies to contribution to an existing plugin from our repository.
Pre-requisites
In order to work with the Icy kernel project, you first need to setup your development tools. Check this page to see what you need to install before continuing with this guide. If you’re not familiar with Maven, we highly encourage you to also read this introduction to Maven before getting started, as we use Maven to manage Icy projects.
Request access to the project
This part concerns external contributor only (i.e. if you’re not directly member of the Bio Image Analysis group).
To contribute in a project available on our public GitLab group repository, if you aren’t a member of our group, you will need first to request access to the project. N
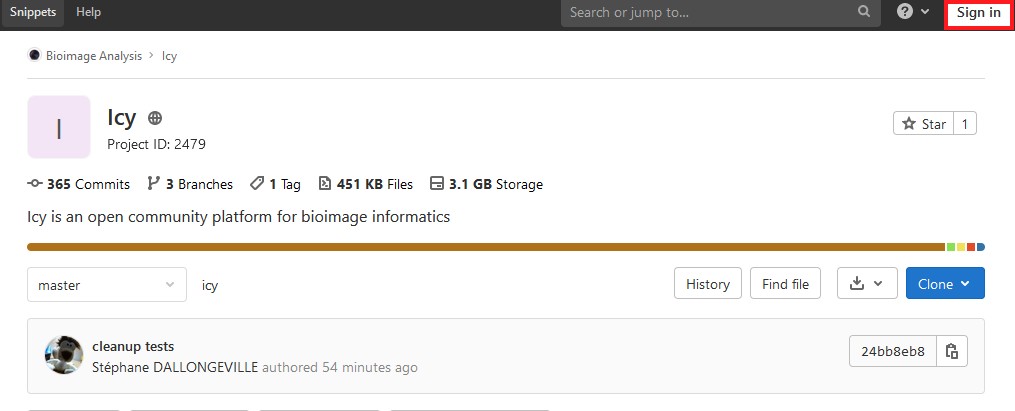
- Click on the top right Sign in button to log-in (you can use your Github or Google account)
- For instance here from the Icy project GitLab page:

- You have now access to the Request Access button:

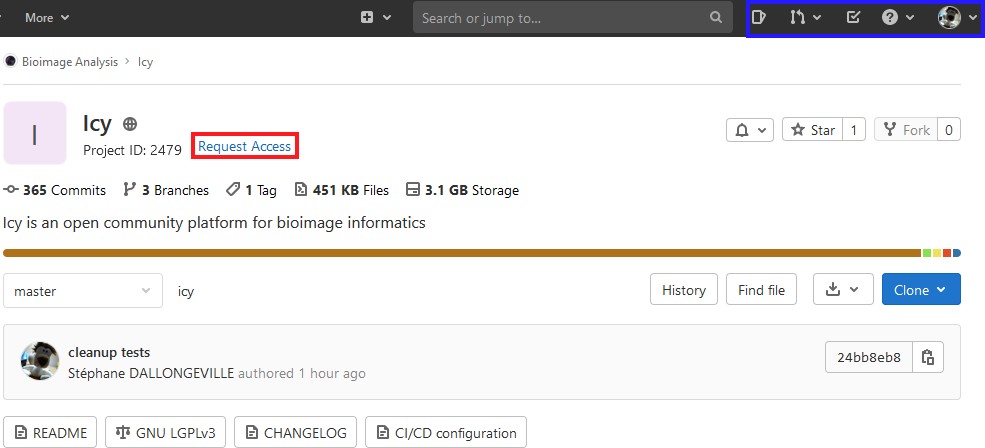
Click on this link to notify project maintainer(s) that you requesting an access to this project. Project maintainer(s) will get back to you asking more information about your intentions, then decide to give you access rights depending on the contribution you would like to bring (reporter access if you just want to report issues, developer access if you want to modify the code…).
Download the project
The Icy kernel project is available through the GitLab repository from Institut Pasteur.
Use your IDE to clone the source code to your machine or any SCM (Source code management) software you are familiar with, for instance Github Desktop or SmartGit. In this tutorial, we will do everything through Eclipse. If you experience some troubles handling Git repository through Eclipse you can try to use Github Desktop instead which is easier to deal for that.
In Eclipse you can clone the source code following these instruction
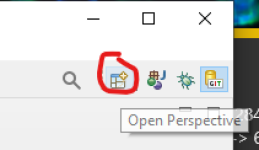
- Open the git perspective on the top right corner.

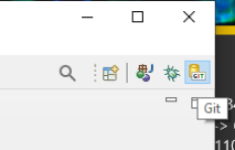
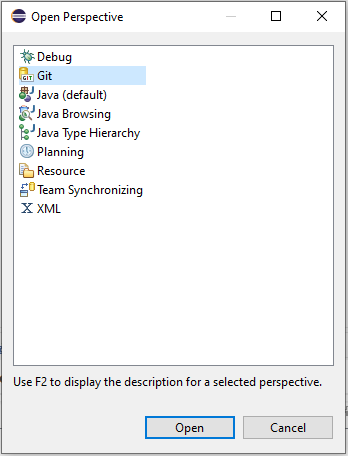
If it is not visible, click on the “Open perspective” button and select the git perspective.
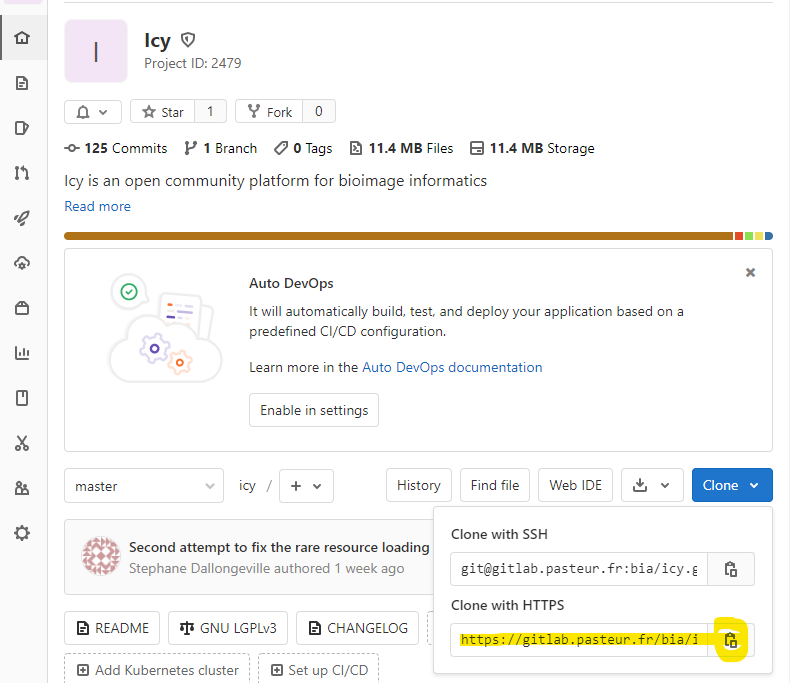
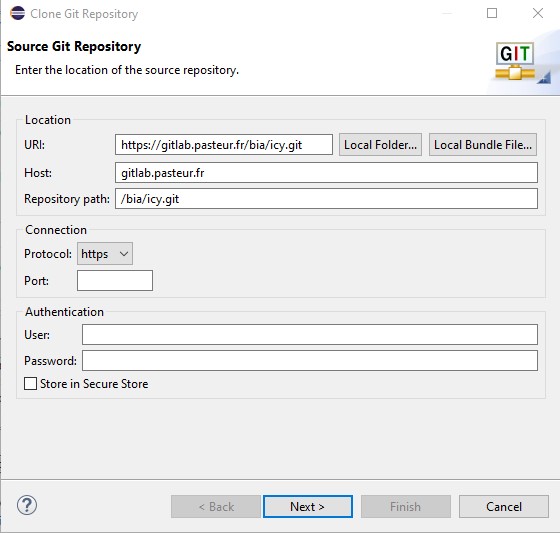
2. Right click on the Git Repositories tab on the left and select “Paste Repository Path or URI”.
Note: Make sure to select and copy the repo URL before this.

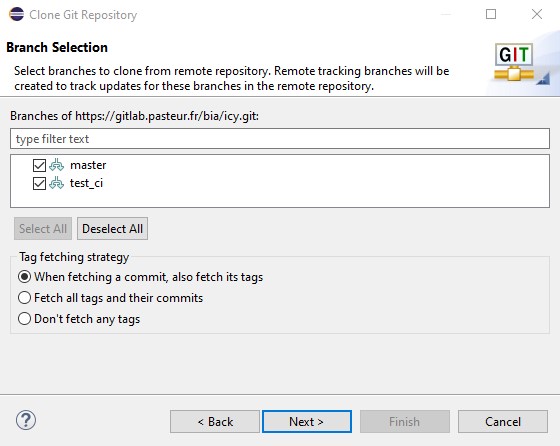
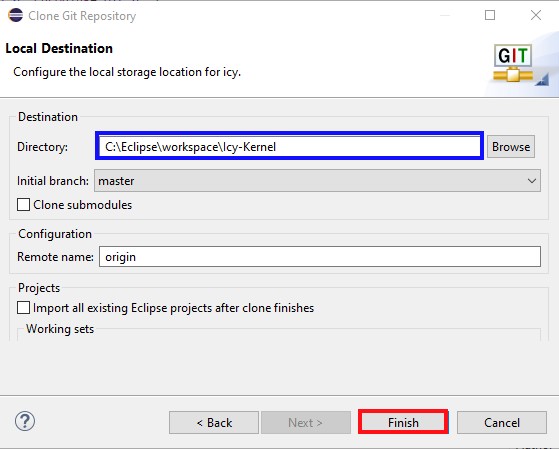
3. Follow the instructions making sure to select a folder in which to download the code.
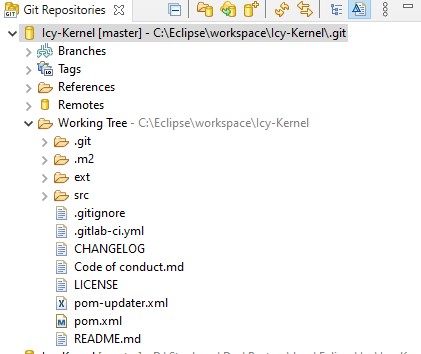
At the end, you will have the code repository listed among the repositories available for Eclipse.
Open the project
Once the project code has been downloaded to your computer, you can open the Maven project. Note that both Eclipse and IntelliJ have been developed to support Maven and hence can open the project.
In Eclipse,
- Open the Java perspective


2. Select “Import projects…” (or right click and select import project) on the Package Explorer tab on the right of the perspective.

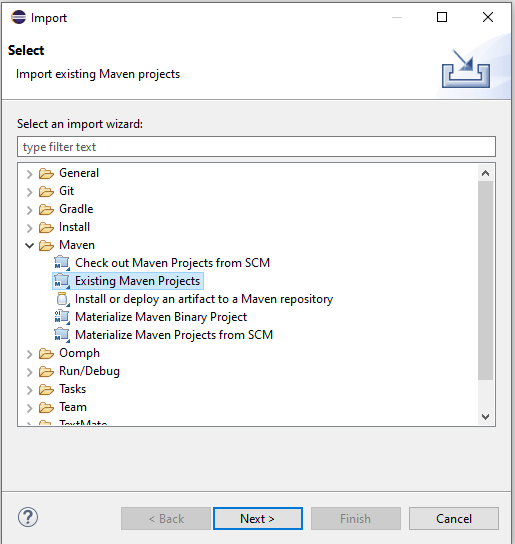
3. Select the “Existing Maven Projects” option on the Maven category and click Next.
4. Specify the folder where the code is located (more precisely, where the project’s .pom file is located). If the location is correct, you will see the project listed.
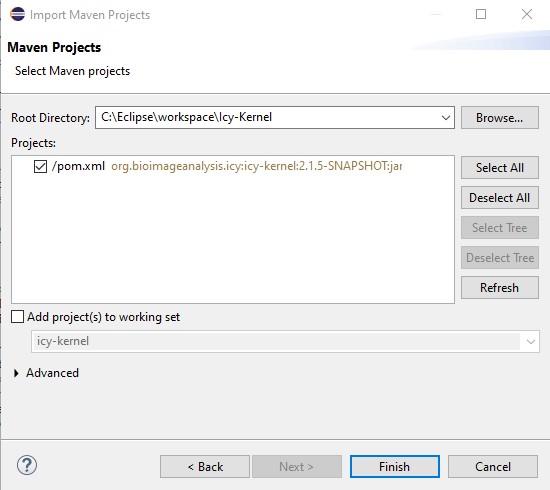
5. Click on Finish and wait for the project to be built.
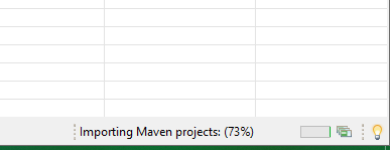
You can check the building process on the bottom right corner of Eclipse.
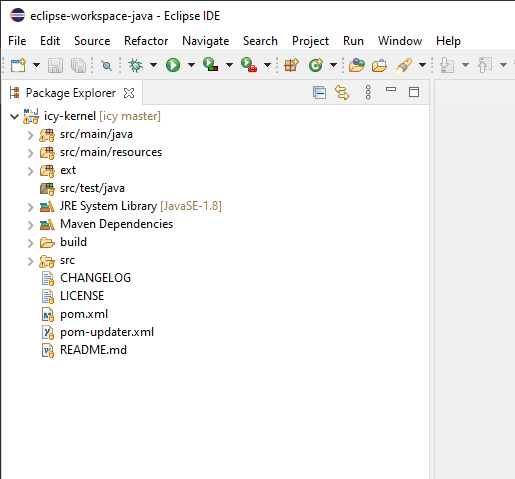
Once the project is built you will see the project listed on the Package Explorer.
Create a new branch
A good practice, especially with several contributors, is to not directly work from the master branch. On GitLab, developers are not even allowed to push changes directly to the master branch, only maintainers and owners of the project can. So before starting coding, you need to create a new local branch to work on. If you plan to add a new feature, we recommend to create a new branch based on that feature name.
To do this in Eclipse:
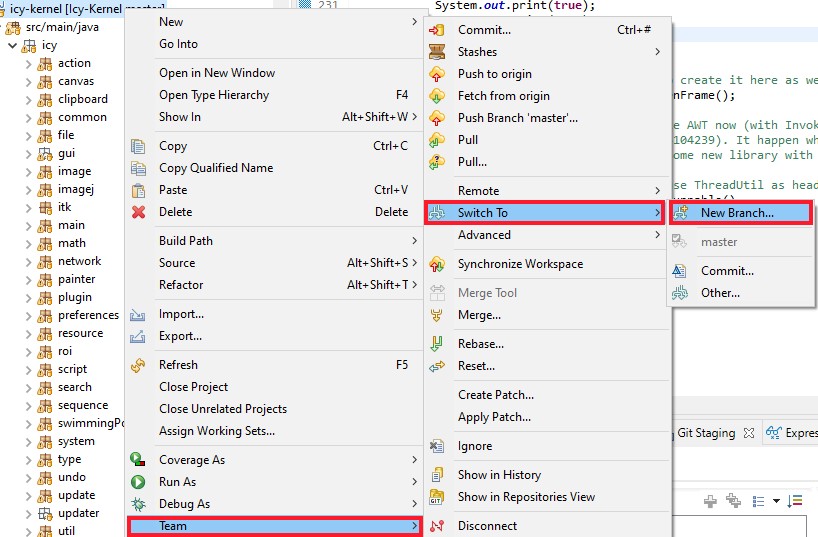
- Right-click on the Icy-kernel project in the package explorer then select Team → Switch To → New Branch…

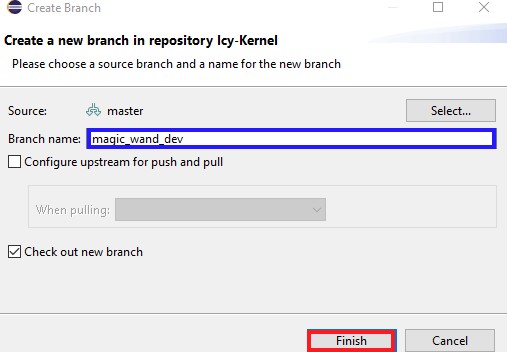
- You will get a dialog letting you to create your new local branch, enter the new branch name and click on Finish.

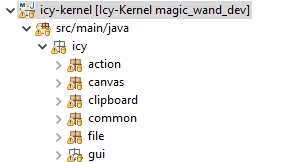
- You should see the name of your new branch after project name. It means so you’re working on that branch. With this, you are now ready to develop on the Icy kernel !

Launch Icy in Debug mode
When you develop new features, it is common to launch Icy in debug mode to capture possible exceptions that might be thrown by your code.
To do this in Eclipse,
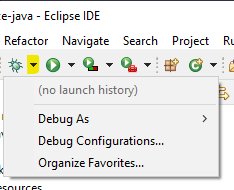
- Click on the arrow next to the debug icon

- Select Debug As → Java Application
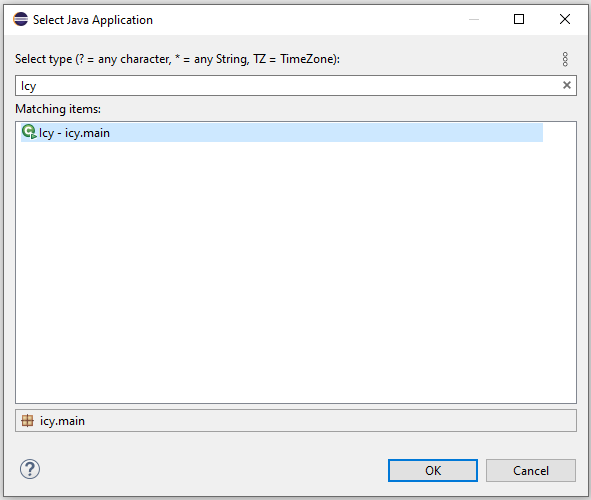
- Search for the Icy application and click OK.

Icy will start and you will be able to use the user interface as usual.
Updating your local project to get the latest kernel features from the repository
You are not alone working on the Icy kernel project !!! It is very likely that a lot of changes have been uploaded by other kernel developers since the last time you recovered the project from the GitLab repository.
- If you are working from the master branch (for maintainers only) then, it is strongly recommend to keep up to date with the latest added changes, in order to avoid conflicts between your developments and the developments of others maintainers.
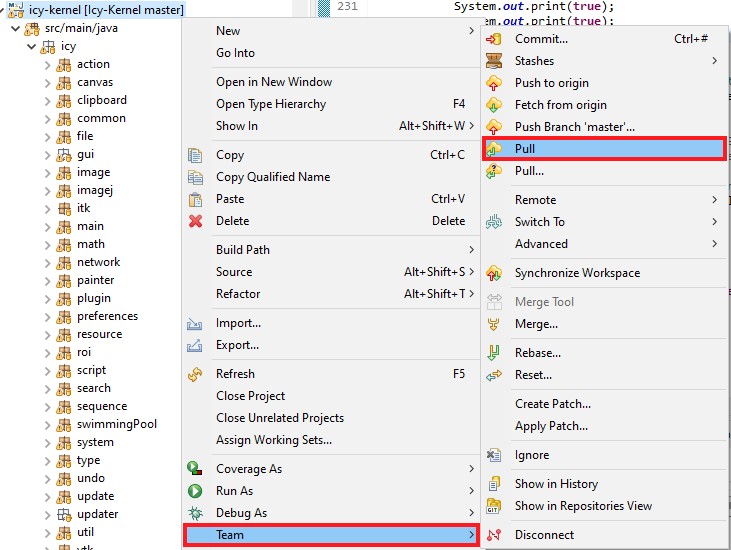
To obtain this updates you need to perform a pull action from the GitLab repository.
Right-click on the Icy project then select Team → Pull. Eclipse will start downloading the new features since the last time you updated your local code version.

Warning: During this step, it is possible that the code you have developed and the updated code generates conflicts. In this case, you should fix the conflicts before continuing developments on the project. This is an advanced subject that is not covered in this post. - If you are working from your own branch (recommended), you can also merge the last changes in your branch if you need it, in which case we will use the merge command.
- Right-click on the Icy project then select Team → Merge

- Select the branch you want to merge into your current development branch, usually you will want to merge from origin/master branch (from remote)

- Right-click on the Icy project then select Team → Merge
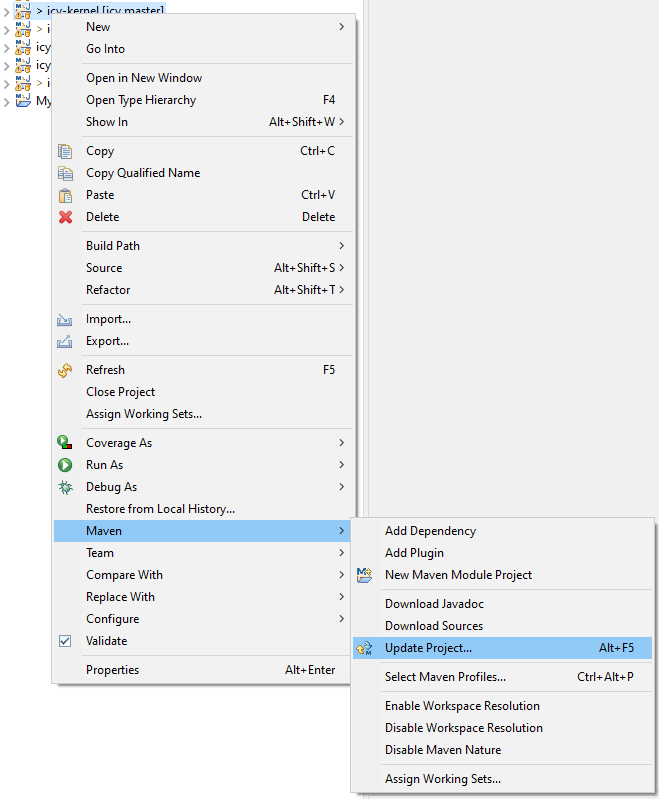
- Once the code has been updated, you can update the Maven project.
Right-click the icy-kernel project and select Maven → Update Project… then select OK on the dialog that appears to begin the update.


When the Maven project update finishes and if no problem is found, you will be able to work from an up to date source tree including latest changes / features.
Publish your changes
When you are satisfied with your code and you think it’s ready to be used you will need to push back your contributions to the original project.
- You first need to commit all your changes into your local branches.
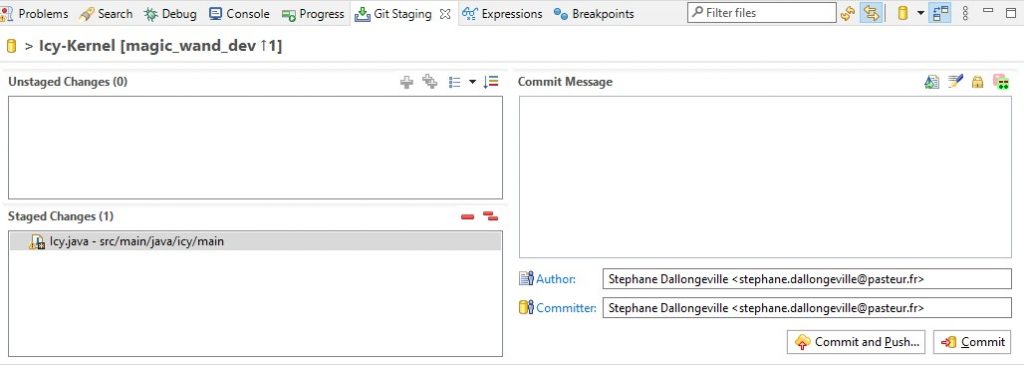
Right-click on the project then select Team → Commit…
You should see this window opening:

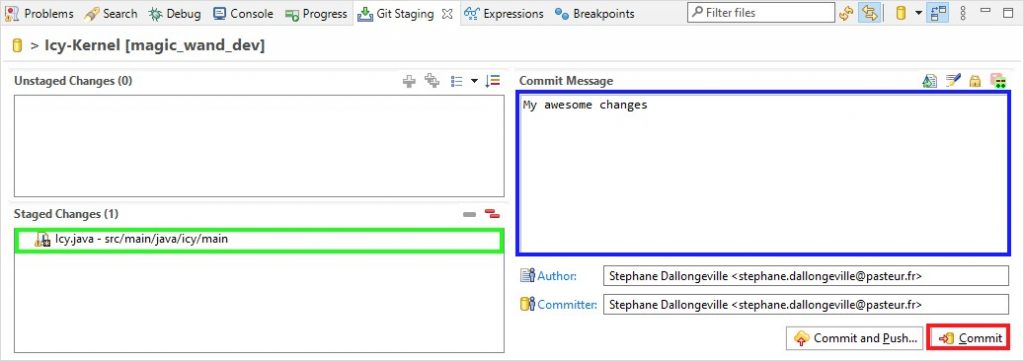
Staged Changes list contains the modified files that we want to commit (you can move files from Unstaged Changes list to Staged Changes list using drag and drop). - When everything is ok, you can fill your commit message which should describe your changes then click on Commit button.

- Now changes has been committed into the local branch, we need to push it to origin repository.
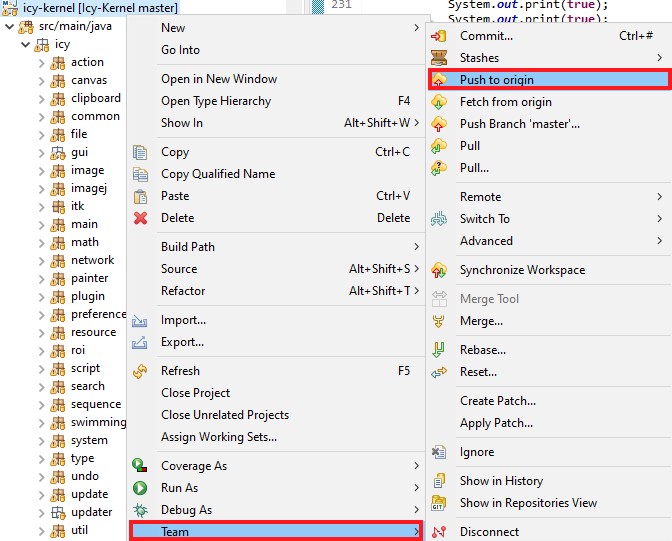
Right-click on the Icy project then select Team → Push to origin

- If you are working on the master branch or/and are project maintainer you should see this summary dialog after push operation to confirm it was successful:

- If you are working from a different branch, your changes need to be merged into the origin remote master branch.
- In GitLab you do so by using merge requests. In that case you should obtain a slight different summary dialog:
 As you can see, Eclipse invite you to do a merge request using an URL
 - Open the provided URL into your browser to create the merge request. You should land on a page like this:
 Check that the destination branch is the master branch (despite what Eclipse summary dialog said previously) then set a title and a description to your merge request. You can also set some options to the merge request as assigning it to a specific project maintainer, same for the reviewer, you can define which milestone it should be part of, labels… When all settings are ok, click on Create merge request.
 - Merge request has been created. You can edit it if you need to changes some information, you can even push further changes into it. Project maintainers will be notified about the merge request and eventually merge it after review/validation.
 The process of producing / reviewing / merging a merge request can be iterative and take some time. You can find more information about Merge Request workflow here.
- In GitLab you do so by using merge requests. In that case you should obtain a slight different summary dialog:
- If you are working on the master branch or/and are project maintainer you should see this summary dialog after push operation to confirm it was successful:

 As you can see, Eclipse invite you to do a merge request using an URL
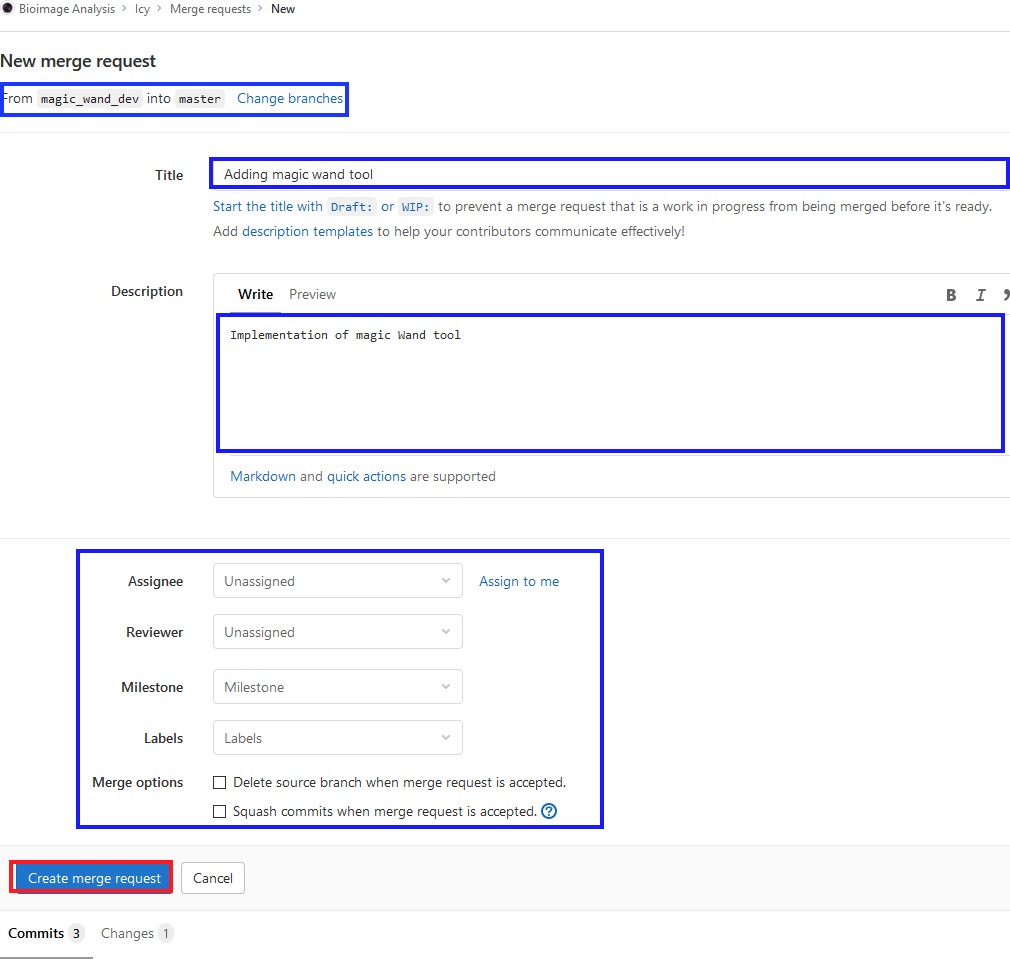 Check that the destination branch is the master branch (despite what Eclipse summary dialog said previously) then set a title and a description to your merge request. You can also set some options to the merge request as assigning it to a specific project maintainer, same for the reviewer, you can define which milestone it should be part of, labels… When all settings are ok, click on Create merge request.
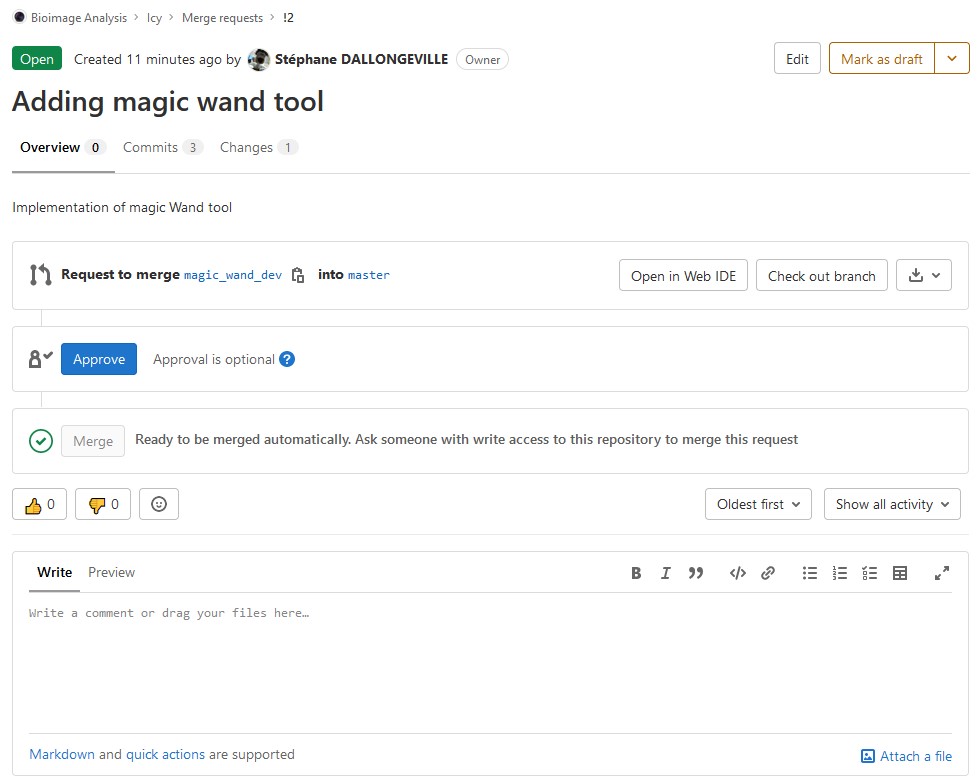 The process of producing / reviewing / merging a merge request can be iterative and take some time. You can find more information about
 Development version limitations
As the icy-kernel project is an active project in constant change, you might face certain issues when using it. Here is a list of some of the common issues you might face when working with this project:
- You will not be able to use plugins that are not included in the core plugins of the icy-kernel project. If you want to develop a plugin please follow the plugin development plugin guide.
- Unexpected exceptions may occur. Experimental features that are still under development and have not been fully tested can cause such errors.
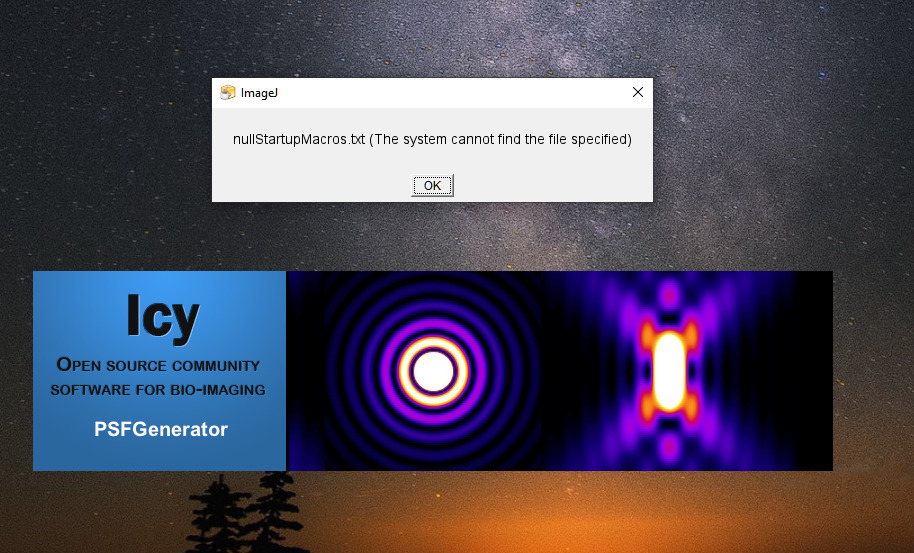
- When launching Icy you might find a warning dialog saying that ImageJ is not found. This happens because the ImageJ module is not included in the icy-kernel project.